Showing posts with label m1ecc antennas. Show all posts

Sunday, 2 July 2023

A RATHER BLUSTERY DAY!


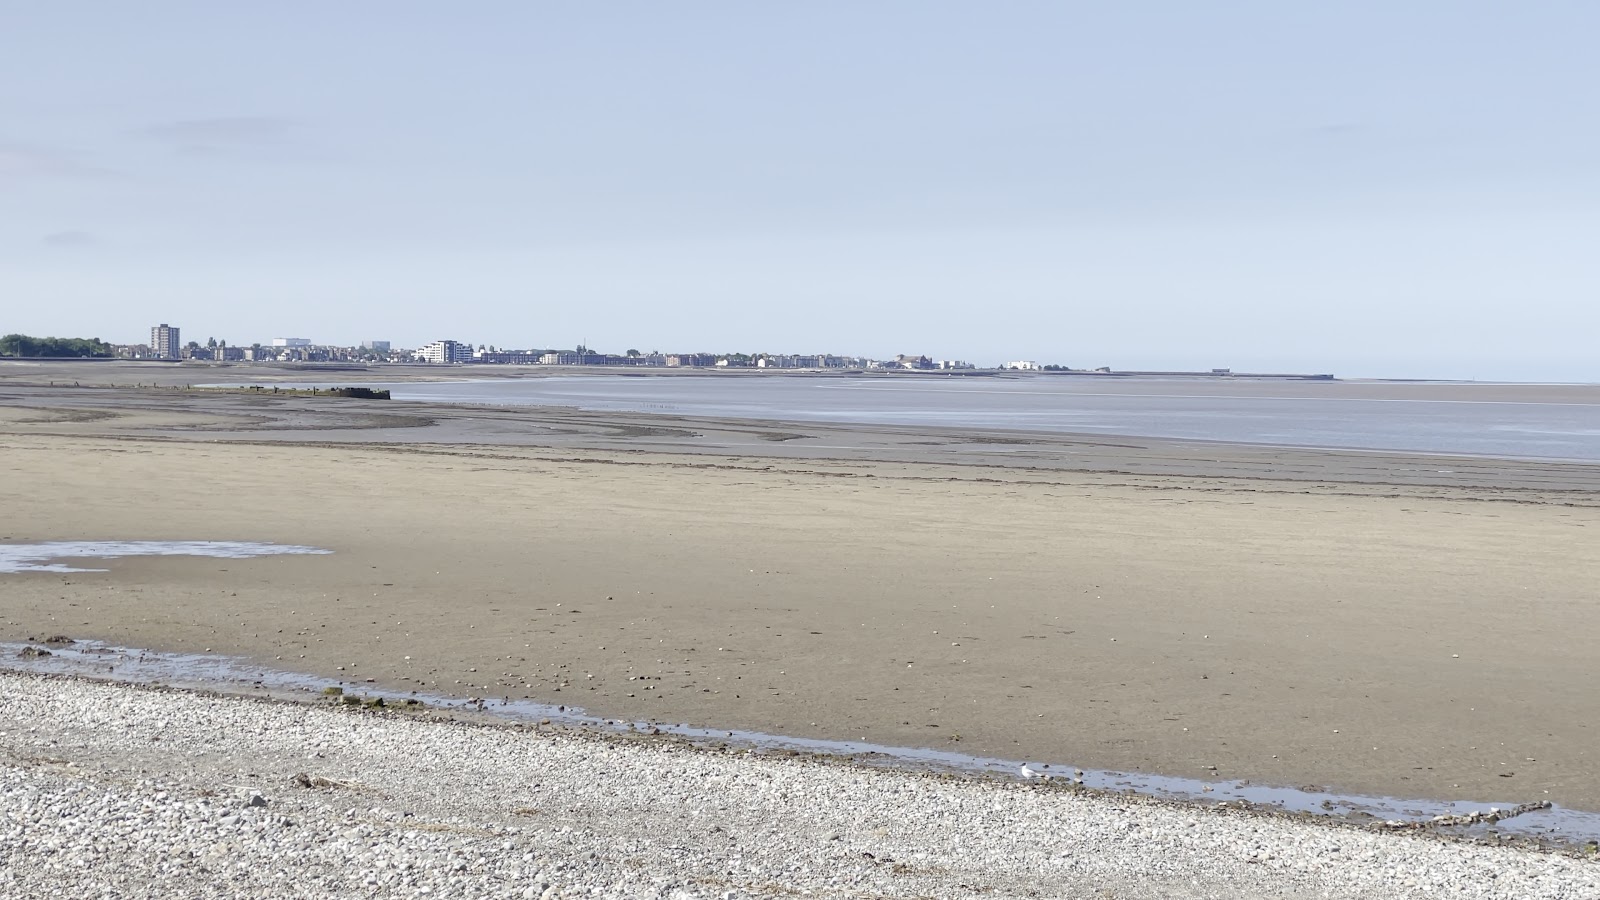
Brian and I decided to brave the elements again this week.  The forecast was mixed but looked to be improving throughout the day. (Spoiler: it didn't!).

It was rather gusty and the wind followed the tree line, so we were afforded little respite.  Never mind, onward brave adventurers ;)

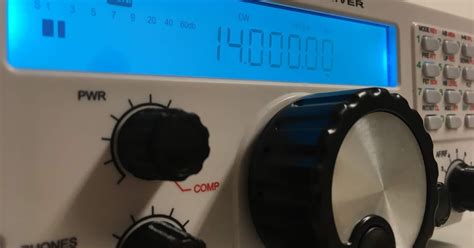
The bandhopper went up like a dream.  I really have the hang of it now and it takes no time at all.  The shelter was a different proposition :)

Linda suggested the shelter to me last week and we had a look for a suitable one.  We ended up with this one from Amazon


It all packs down into a 2ft long bag and I think once I have got the hang of it, it should be possible to erect it in under 5 minutes.  The ground sheet is good and strong and fitted via toggles.  The two short poles are built in and there is one long sectional pole to thread.  The poles are held together with an elasticated cord and they can be a bit of a pain until you realise that pushing in one direction is the way forward, rather than trying to pull them.  There is a short video on YouTube showing how to do it but it does not really show too much.

As. you can see above and in the short video below, there is enough room for a small table and chair.  You could probably get a table and two chairs if you knew the other person well enough ;)

It certainly worked.  The main shelter was pegged down with the supplied pegs and just to be sure, I guyed the shelter down with the 4 supplied guys.  Again, there is no instruction on how to do this but I attached them to the four loops on the shelter as it seemed to be the correct thing to do.  You can see one of them here..


It didn't blow away, so I guess I got it right :). For someone used to camping or other shelter/bivvy type tents, this would seem simple but to me, it was completely new.

In all, it took me about 20 minutes to erect this time but I know a lot more about it now.

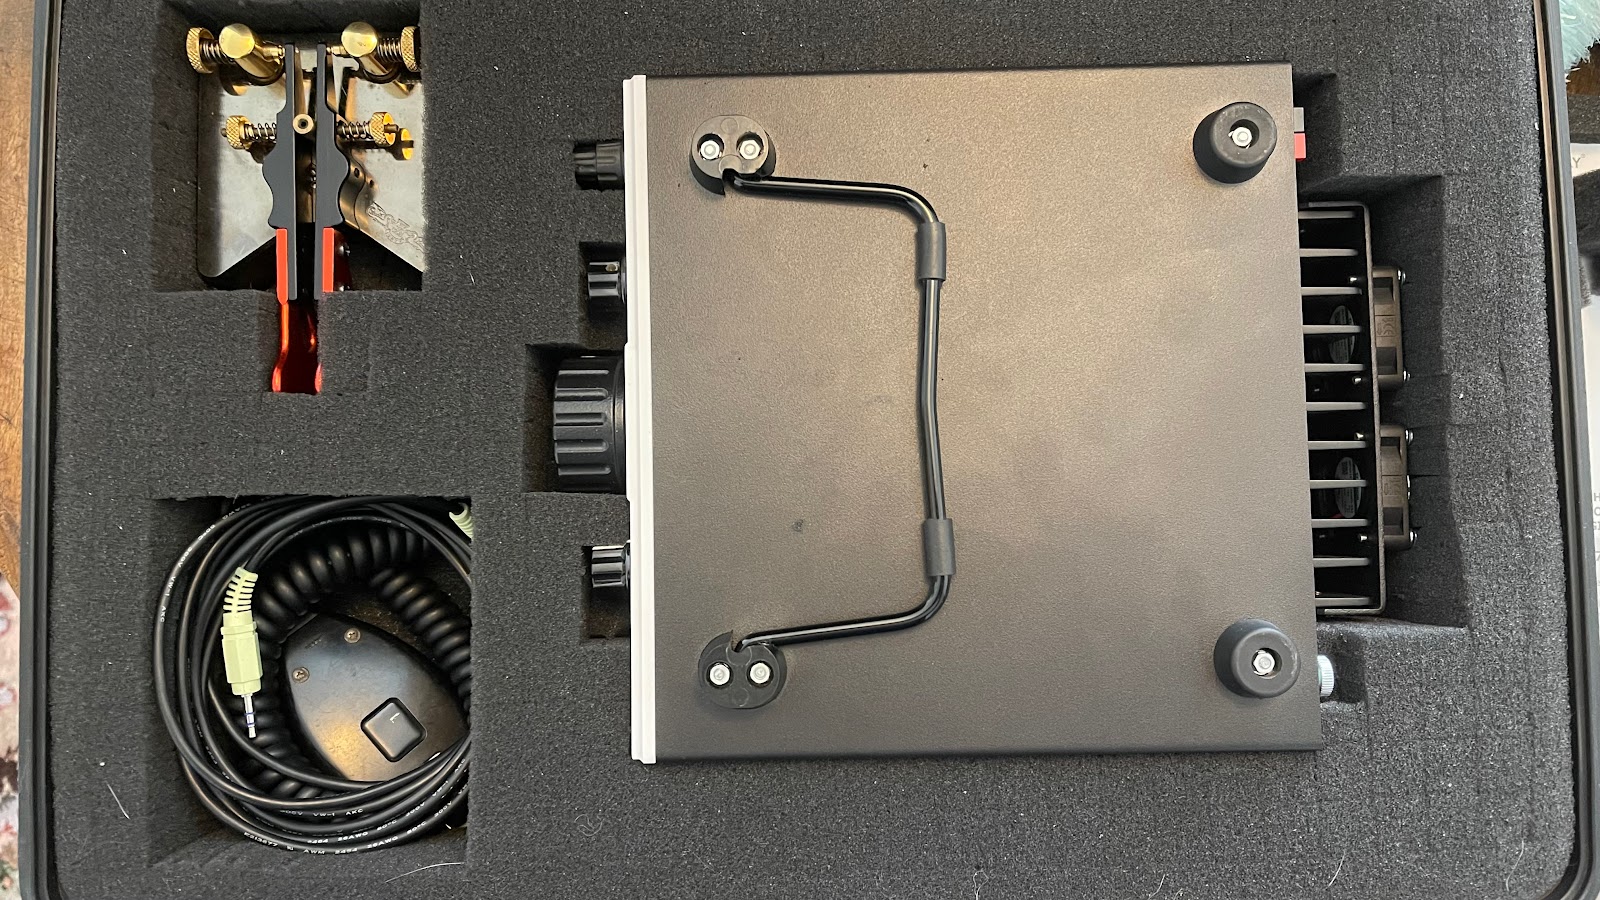
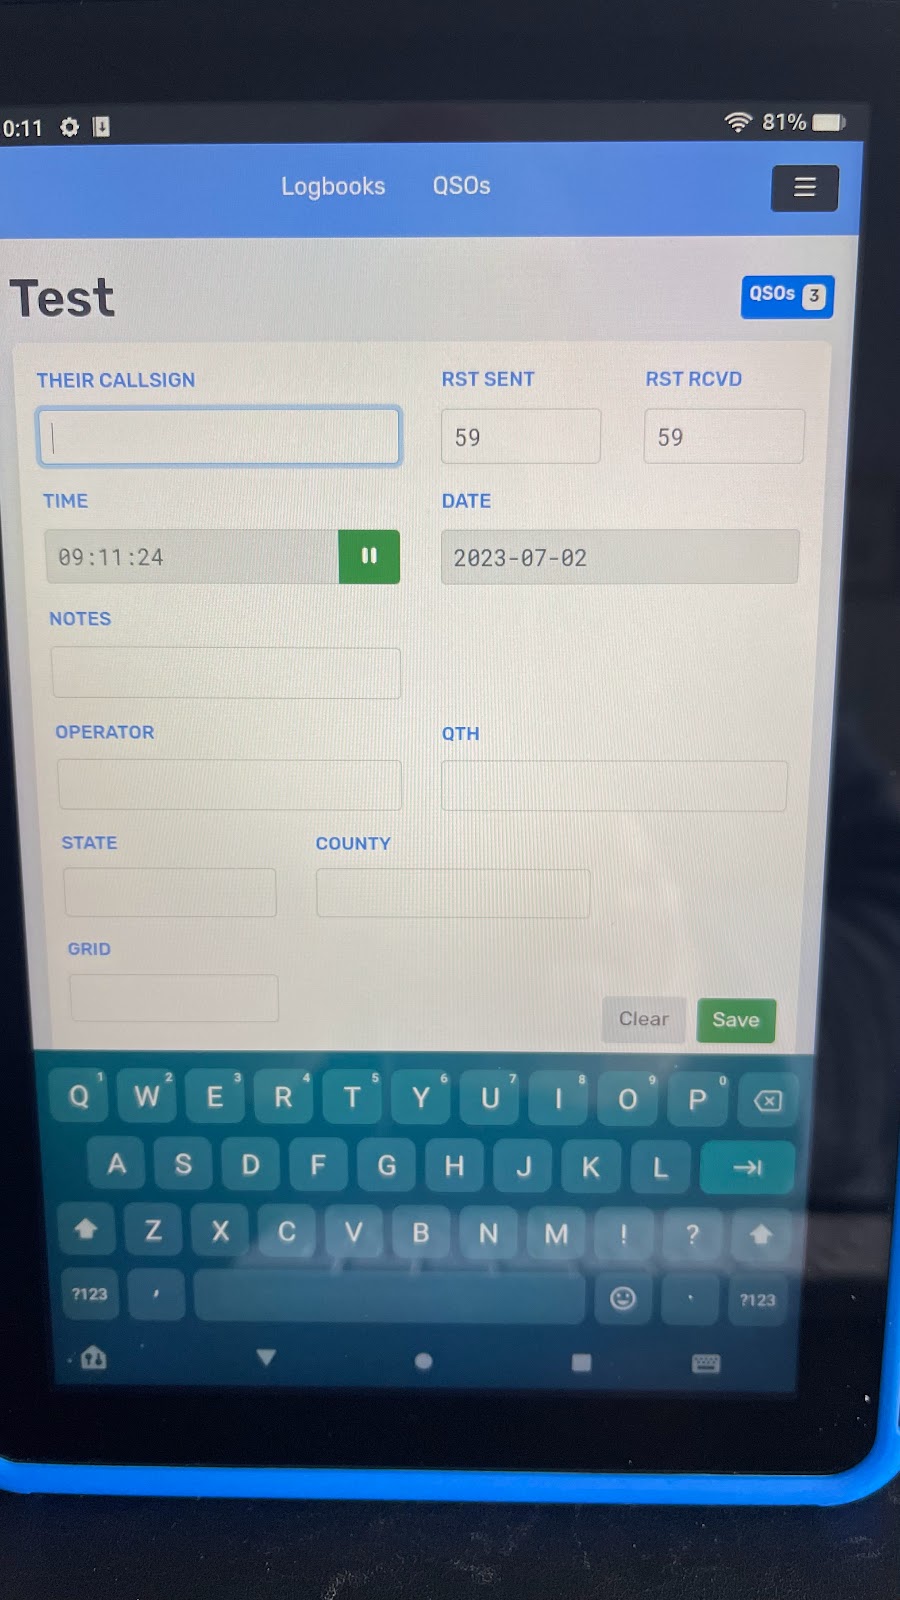
As well as this, I have been looking at alternatives for logging for some time.  I have been using my phone with HAMRS so far and although this works really well, it means having the phone on a stand of some kind and renders it unusable for filming.

The previous week, Brian brought his Amazon Fire tablet with him.  What a brilliant idea!  I managed to get a refurbished one from Amazon at a good price and downloaded HAMRS on to it.  HAMRS is available on the Amazon App Store.

Now I found my first frustration!  The standard keyboard is large and even in portrait, covers the Save button.


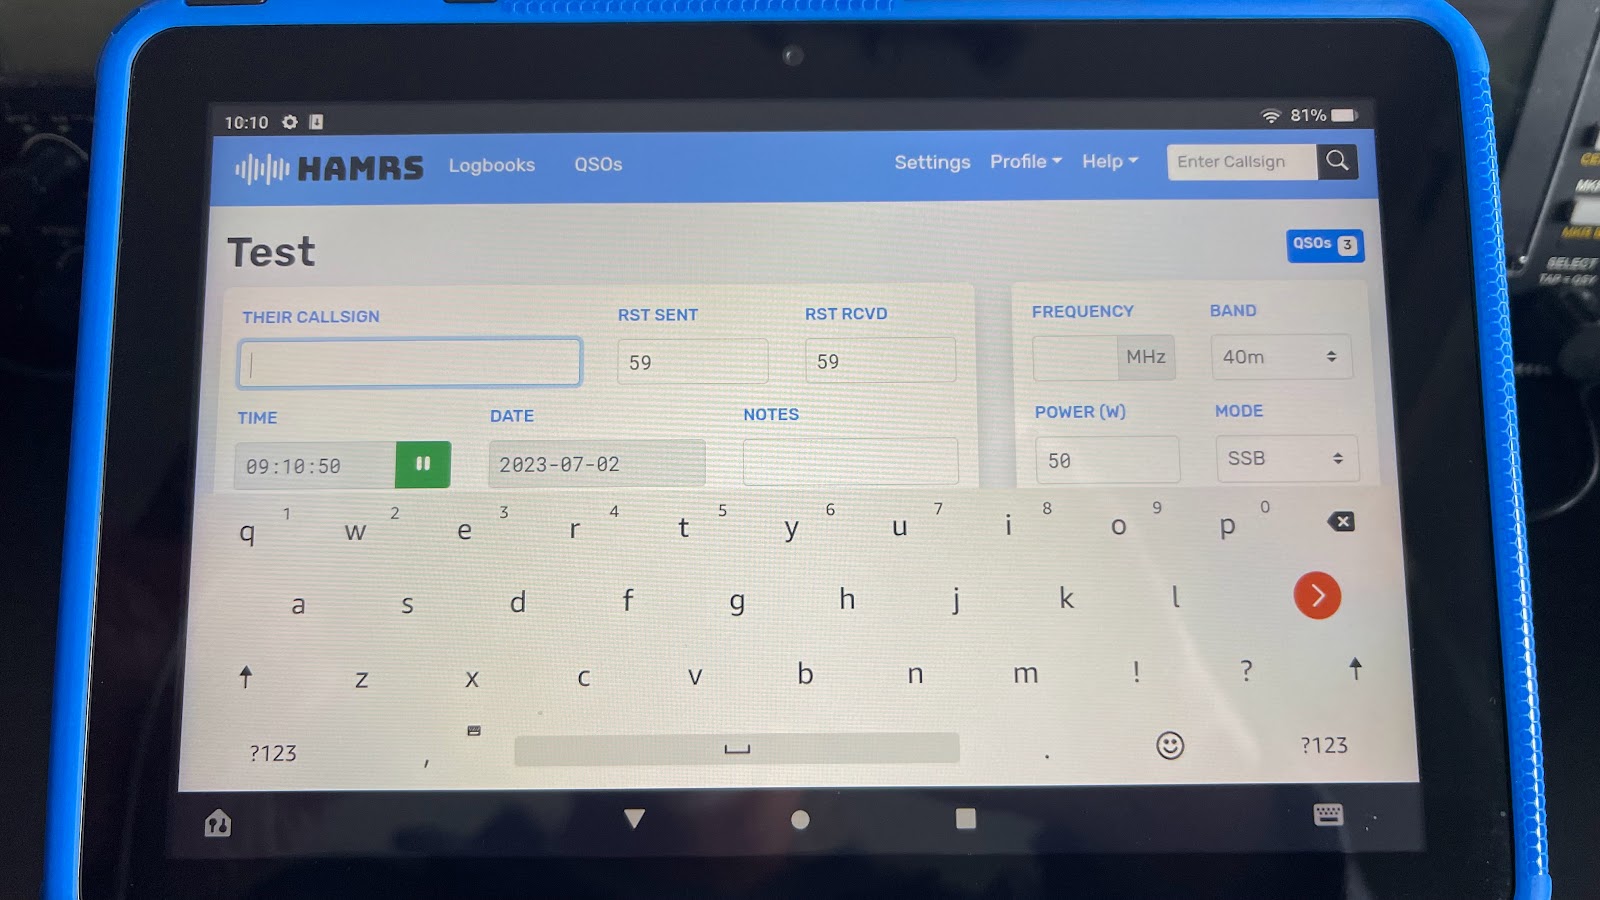
The obvious thing to do was to find a smaller keyboard.  The only one I could find that allowed resizing was Gboard.  The only way to get this was to hack the tablet a bit and install the Google Play stuff.  This was surprisingly simple to do and I got Gboard and set it to its smallest size.  Now in portrait mode, I can get to the Save button easily.


Job done there then.

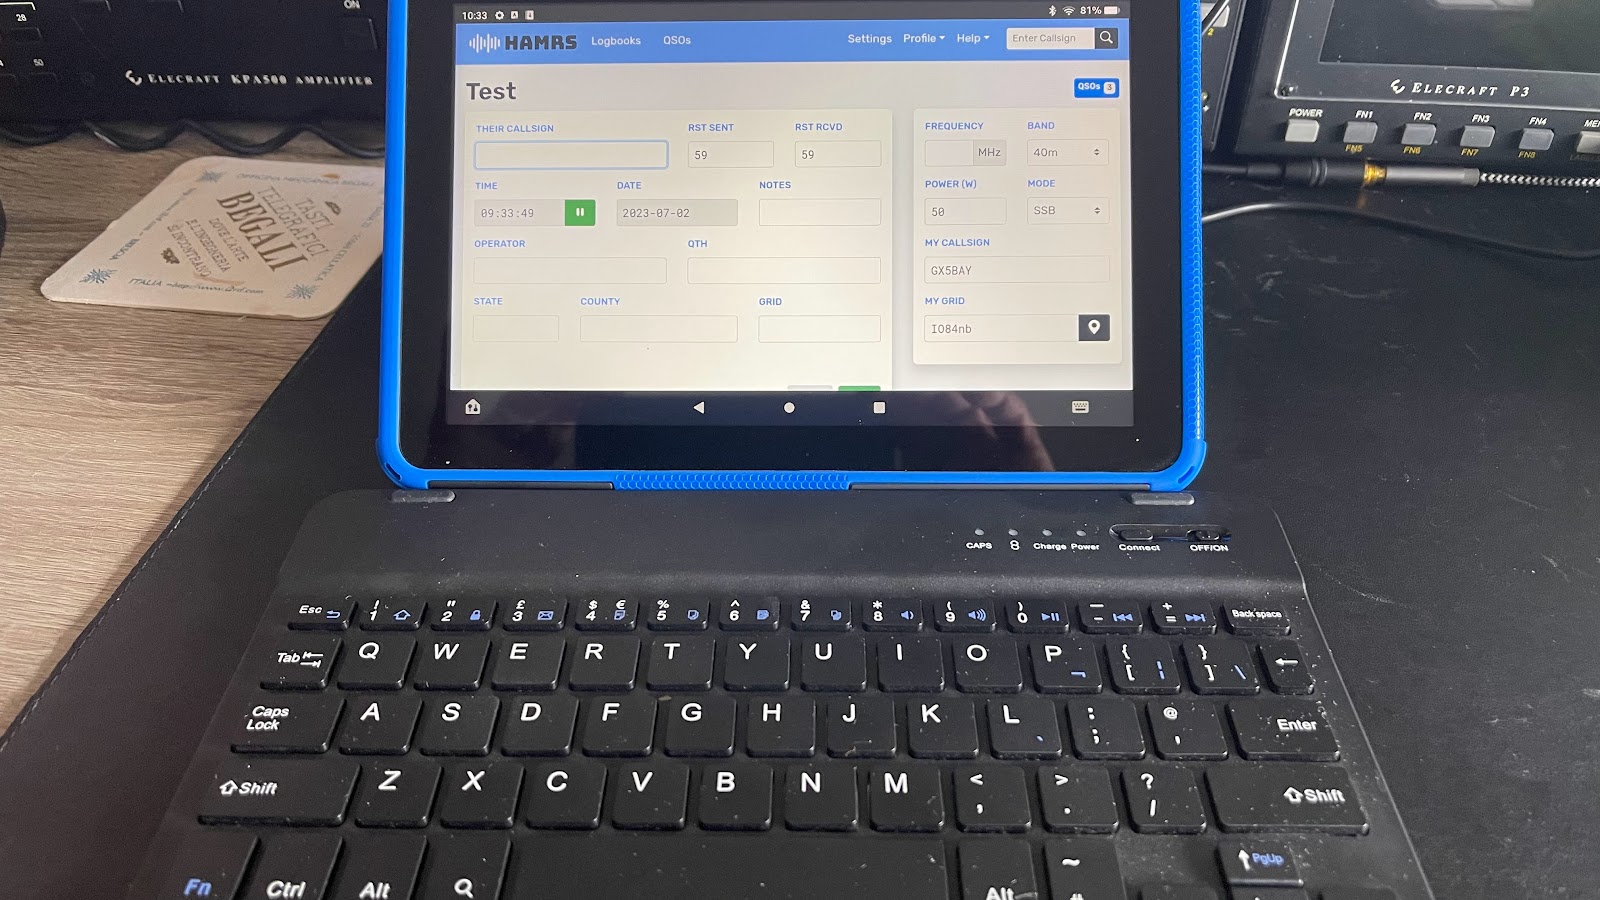
My next frustration was found almost immediately.  Neither keyboard gave be a 'Return' key.  They both appear to simply tab between fields.  I suppose that I could simply tap 'Save' but it was bugging me.  A good friend offered me a small Bluetooth keyboard to try.  As soon as I connected this, the internal keyboard vanished and I had a full screen app with a 'Return' key :). Now all I need to do is enter a callsign, let QRZ and HAMRS do their magic via my iPhone hotspot and hit 'Return' to log it.  result!


All in all, a really nice day out and we mostly managed to miss the rain.  I had *just* managed to get my gear away when the heavens opened!  Brian was not so lucky but we got his gear away with no issues and left feeling a bit damp but happy :)

The video is short but shows the shelter nicely.


73 Ian

Thursday, 22 June 2023

EQUIPMENT ROUNDUP


I was tidying up the boot of the car and thought it would be interesting to summarise the equipment I take portable.  It's quite astonishing how it grows but I think I have everything I need now.  

Did I really just say that???

It has been a very useful exercise for me.  Apart from tidying up the boot and boxes, I got to realise just how lucky I am to be able to have all this gear and get the enjoyment out of using it!  I live in an area of outstanding natural beauty, access to places to operate with very little background noise and enough space to play with aerials.

I always make sure to protect my portable radios with decent padded cases.  They are not cheap radios on the whole and spending a reasonable amount on protective cases makes a whole lot of sense to me.


My QRP GoBox is a case I have had for some years and I used to transport my K3 in it on DXPeditions.  I managed to get a piece of pick and pluck foam that fitted perfectly from eBay and relined it.


The QRO Box also came via eBay and cost a little more but was not overly expensive.  It's a great box and nothing inside will come to any harm, short of being run over by a Steam Roller!


My aerials have all been reviewed on the YouTube channel but it was interesting to get them out one by one and think of their individual benefits.  They all have a different part to play.

One thing I forgot to mention in the video was tools.  It is always handy to have a few small tools available.  Allen keys, cutters, screwdrivers, pliers, that sort of thing.  A multimeter is handy too.  Cable ties and tape complete this section.

I doubt I will be yomping up any fells, so I usually have the car close to hand but I could be very portable if needed and still be able to operate for 2-3 hours with a small backpack.

Portable radio is just such fun and you never know just what is going to pop up.  I am just hoping we get some decent daytime conditions soon.  I really would like to drop to QRP levels and see what I could achieve there but alas, the present conditions make it really difficult.

This video is a little longer than my usual fare but I hope you find it informative and enjoyable.


73 Ian


Sunday, 18 June 2023

GRAND DAY OUT 2


Brian and I went back to Dave's field this weekend and had a great time.  You cannot underestimate the sheer amount of fun to be had with portable radio, especially when it is a shared experience.

One of the things we wanted to achieve this time was to get Brian's station running well.  We identified a bad connector from last week and made a couple of leads up to correct the issue.  He took the TS480SAT and powered it from his new Beaudens power station.  


This little unit performed flawlessly throughout the day, running the radio at 50W SSB quite happily.  The great thing is that it is small and light.  Absolutely perfect for this kind of operation. If used at QRP levels, it would last ages! At 50W SSB, it would certainly last for most of the day.  As it was, less than half of the charge was used.


It proved to be very quiet, RF-wise, which is obviously the main focus for us :). Bear in mind that the radio in use is not the most power efficient portable radio.

The next thing was how well I could put up the BandHopper.  This was erected in much less time than the first and will be even quicker next time.  Every day is a learning day!

We managed to get the aerials up just before it started to rain.  We quickly relocated the radios to the cars and started to operate.  The bands were not great, there having been a couple of minor flares, but as our noise floor was zero, it was not a problem from our side.  I started on 40m and Brian was on 20m on the Slidewinder.

In fairness, I think I had the best of it. The bands were not great but 40m is usually fairly busy on a Saturday and I had a slow but steady start.  20m was not as good but Brian was managing a few contacts.

Brian was the first to crack and moved his station outside the car and I followed shortly after.  We swapped bands, with Brian on 40m on the Slidewinder and me on 20m on the BandHopper.  I discovered that I could lower one end of the dipole, keeping the tension on lightly and altering the aerial for 20m.  Much quicker than having to drop the mast.

Much hilarity ensued when Brian moved the slider on the Slidewinder and when checked, it was absolutely bang on on 40m!! I bet he couldn't do it again 😆

I then moved to CW and managed a couple of contacts but the bands were closing in a bit and we decided to close down.

What a great day again though.  I can really recommend getting out of the house and just having some fun for a few hours in an RF quiet place.  You really don't need much to do it.  If you make it QRP, you really need very little indeed and you could easily have a full station in a small backpack, as SOTA and WOTA stations know well.
As usual, I made a video of our day.  I was using a gimbal for the first timed I definitely need more practice :)


73 Ian

Friday, 26 May 2023

RGO ONE POTA ACTIVATION


I finally managed to venture out with the Mission RGO One and activate POTA G-0070 on both CW and SSB. My normal spot was not useable as the sheep were out, so I changed site and I am glad I did.  It was a better location and I could get the Slidewinder away from the public.  There were much fewer of them here too!  I put 8 radials on the Slidewinder and it worked well.

I had some issues early on and the tuner in the RGO ONE was struggling.  I had another look and the PL259 at the bottom of the Slidewinder was not fully tight.  My bad as they say.  Now everything worked just fine.

I was able to sit outside the car and the chair was surprisingly comfortable.  The little table was OK but a little small and made CW a bit more difficult as it tended to sway.  On the list is a better table for sure!

The sun was out all day and the view was glorious!  Morecambe Bay is such a beautiful place to be.


I did learn a valuable lesson.  you would think at my age I would have thought about this and in fact, I did bring my Tilley hat with me, then completely forgot to change to it!  Learn my lesson and don't wear a baseball cap in direct sun! I should have 'got down with the kids' and worn it backwards :)


For some reason, my dear wife thinks this is hilarious!


I have to say that my Morse head was not on today for some reason but I managed a few contacts and they were patient with me :)

40m can be tricky at times in the UK.  Today was no exception and the band was not being kind.  I really thought that I may not complete the activation at times.  After battling 40m for a while, I made the decision to move to 20m.  I started on CW and sent a spot to the POTA website but nothing doing. 

I was really getting worried now and I moved to SSB with trepidation.  After all, CW is easier than SSB for contacts, right?

I posted a spot on the POTA website and started calling.  Very quickly, I had a good run going.  By this time, I had gone to 40W and this made all the difference.  Of course, this is why the RGO ONE was a good fit for me.  It behaved beautifully all the way through.  I didn't bother trimming the RF gain as some stations were very weak with me but to be honest, there was no need.  The radio was really quiet with just the interference from the electrified railway track close by.  I only got this when a train went by, so I wasn't worried about that either.

I ended up with 28 contacts in total and it was getting close to lunchtime, so once the run finished, I packed up.  I found a perfect Pelicase copy to put the portable shack in for transport.


The RGO ONE fitted my operating style perfectly, as I hoped it would and Linda recorded my TX audio on her JST-245.  The result sounded superb and I am really happy with it.  I think this radio and I are going to be very happy together.  I just need to get a little more used to it but it really is not hard to use.  

Everything works as it should and I found it a perfect portable HF radio.

I recorded a video or my activation and I hope you enjoy it.  The GoPro battery ran out about halfway through, so I missed my little run on 20m SSB.  Additional batteries are on order!


73 Ian


Wednesday, 17 May 2023

JUST GREAT SERVICE!


Just a short post to thank the guys at M1ECC Antennas for their amazing service.  I ordered a Slidewinder extension mast yesterday at 10:30 am and the Post Office delivered it this morning at 10am!

Just amazing service.  Many thanks.

(I guess I should thank the Royal Mail too ;))


73 Ian

Friday, 5 May 2023

THE SLIDEWINDER PORTABLE ANTENNA


I have been using this antenna for a little while and I have to say that I am most impressed with it.  I have done several videos on it on my Bay Amateur Radio Group YouTube channel and I will include a couple below.  I love to get out portable and I am very lucky to live in the beautiful place that is Morecambe Bay.

I can go down to the shore and operate for POTA and WFF easily, all on a salt marsh :)

The antenna itself is based around the Slidewinder Coil.  This is available in several colours to suit your mood ;)


This is extremely well built and based around a 3/8 thread unlike some other portable aerials.  You can match this with a whip of your choice or go for the Slidewinder Military Whip option.  I have this and it works really well.  You can't adjust it in quite the same way as a telescopic whip but you can fold over a section if needed.  I suspect that in the long term, the Mil whip will be more robust as telescopic whips tend to bend and/or crease over time.

There are several mounting options.  Obviously as it is based around a 3/8 thread, you can mount it on a magnetic mount or other vehicle mount.  M1ECC Antennas, who produce the antenna, do a roof bar/balcony mount, as well as a ground spike and a tripod option.  I have the ground spike and the tripod and both work well and are solidly engineered.

The aerial works really well from 40m to 10m and I have zero complaints.  I have never needed to guy it so far but I suspect in a solid breeze, it might be a good option.  Tuning it is a breeze.  Some people simply slide the collar for maximum receive and then use a tuner.  I am a little more OCD about it :). I like to use my Rig Expert to tune it.  Doing this enables me to get whole band coverage at under 2:1 across all bands, including 40m!  You soon get used to where to start with the collar and then it is a simple job to tweak until you are happy.

I did find that with the aerial on the roof of the car, mounted on a triple magmonut, that the base sWR was quite high.  This is not the fault of the aerial but a lack of ground.  A counterpoise or a couple of radials would probably resolve this but it does work and in an area where getting an aerial out is difficult, would be a useful way of mounting the aerial.

Again, the service from M1ECC Antennas is superb and their communication is excellent.

One new option is a short 300mm/1ft extension bar.  this goes between the mount and the coil and raises the coil.  This makes it easier to get to the coil and I am hoping to test one very soon to see what difference it makes.  I will no doubt do a video for this when I do.  

I can recommend this antenna system wholeheartedly.  In the meantime, here are a couple of videos about it.

Testing The Slidewinder Antenna (Part 1)


Testing the Slidewinder Antenna (Part2)