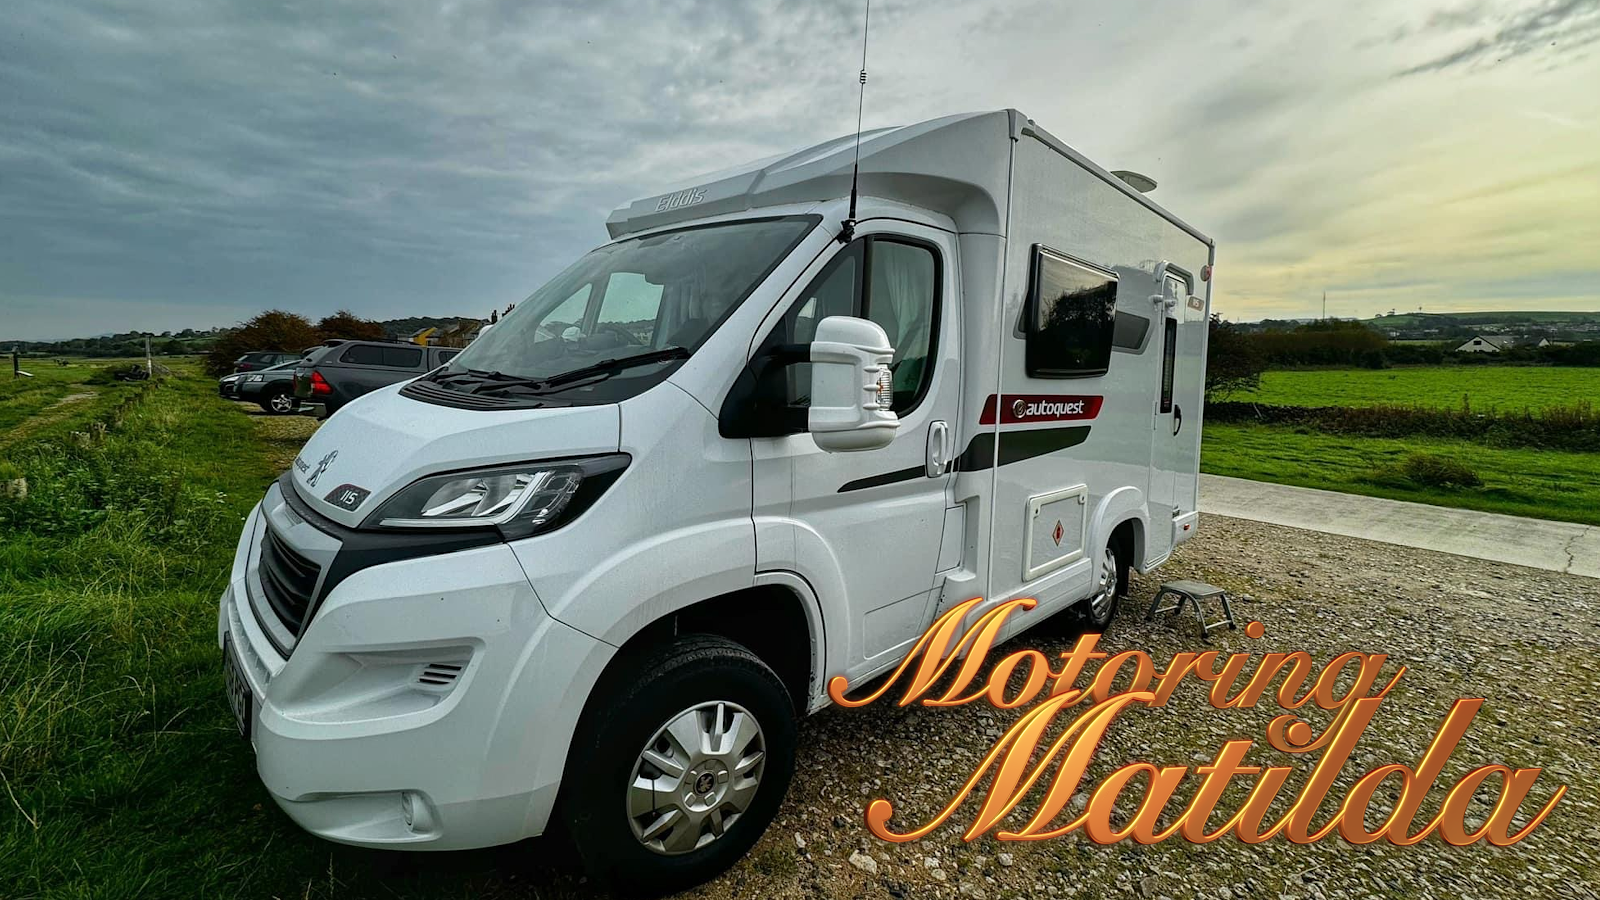
We have just invested in our first motorhome. An Elddis Autoquest 115. It is a lovely little 2 berth van, less than 6m long but surprisingly roomy inside.
Of course, our first thought was to get a radio in it. The problem is, where to mount an aerial? The vast majority of the body work is not metal, so getting a ground plane is tricky. I saw a video on YouTube showing a way to do it and decided to have a go.
Basically, the aerial is fitted on the passenger door. Linda finds it difficult to get in and out this way, so this door won't be opened that much. Nevertheless, I didn't want wires hanging around.
The mount I decided on was the Diamond K415. This has 3 axis adjustment. Perfect for the job.
I chose the Sharman MC-4MT cable kit to go with it. This is available in a couple of cable lengths and I decided on 4m.
This has a reasonable tail to get over the door and appears to be well built. The mount and tail look great from outside. I needed to make sure that the aerial would not bounce on the bodywork when mobile, so I fitted it down the edge of the door slightly.
The main issue was to keep the cable neat with as minimal a loop into the cab as possible. The loop has to be close to the hinges to keep it at a minimum length.
I had to think about this for a while but after some testing, I decided on holding the cable to the inside of the door lip using clear silicone. This worked well and I used Blu-Tack to hold it in place until it set.
Spoiler: I still haven't removed the Blu-Tack ;)
The hardest part of this was having the patience to wait until the silicone set! I was able to get the cable right down to dashboard level. This did require copious amounts of Blu-Tack!
Getting the cable up the side of the pillar was really easy and made for a tidy job with only a small loop.
I fitted the radio in the pelmet shelf over the cab. I had had a 12v point wired in ready and made for a safe and almost invisible installation.
I hope you found this post useful. Let me know if you have done this and what solution you used.